Examples
Setting up restic with Amazon S3
Preface
This tutorial will show you how to use restic with AWS S3. It will show you how to navigate the AWS web interface, create an S3 bucket, create a user with access to only this bucket, and finally how to connect restic to this bucket.
Prerequisites
You should already have a restic binary available on your system that you can
run. Furthermore, you should also have an account with
AWS. You will likely need to provide credit card
details for billing purposes, even if you use their
free-tier.
Logging into AWS
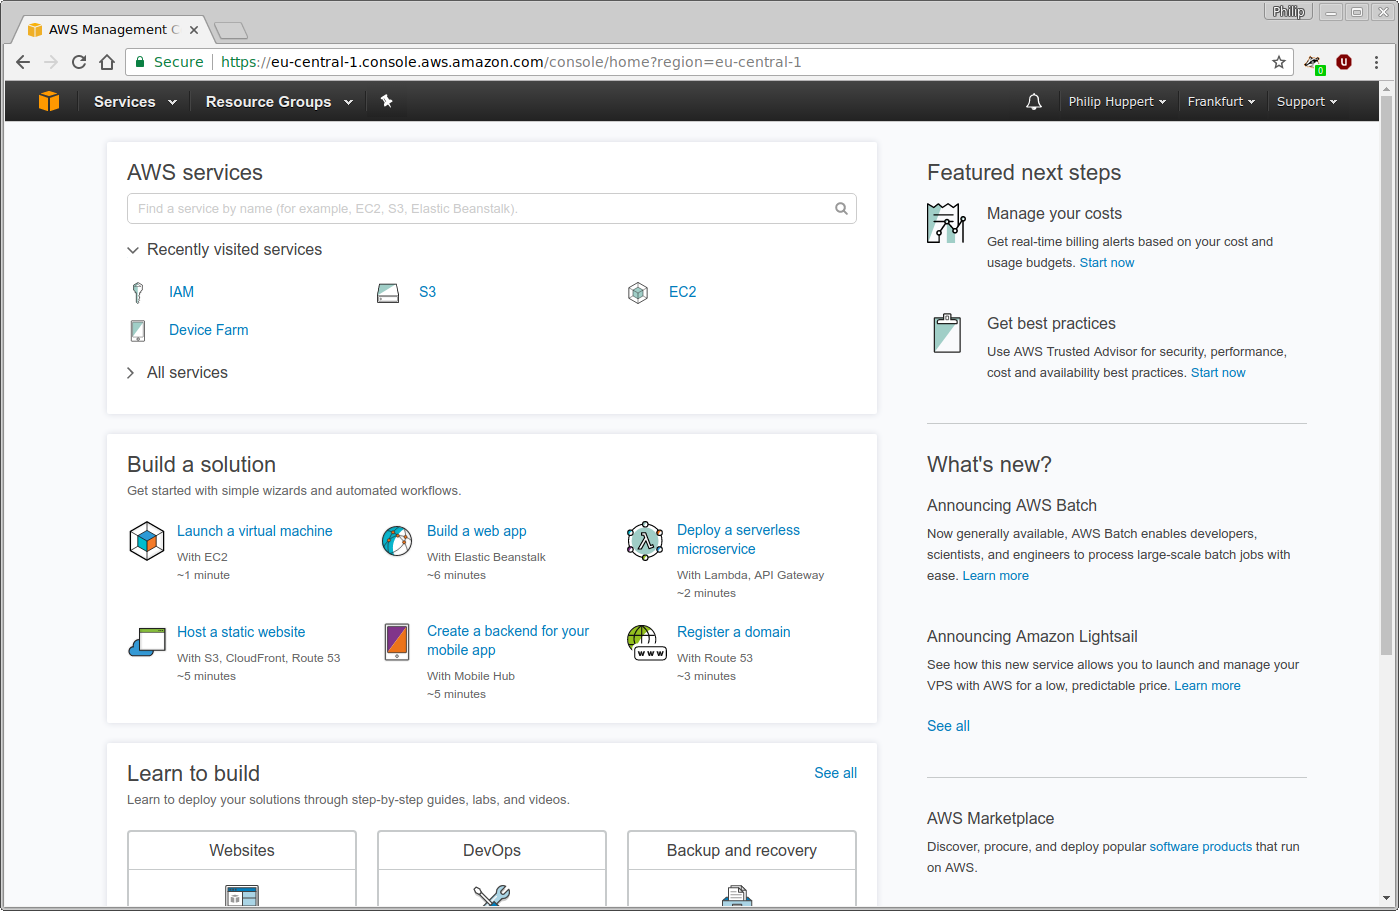
Point your browser to https://console.aws.amazon.com and log in using your AWS account. You will be presented with the AWS homepage:
By using the “Services” button in the upper left corder, a menu of all services provided by AWS can be opened:
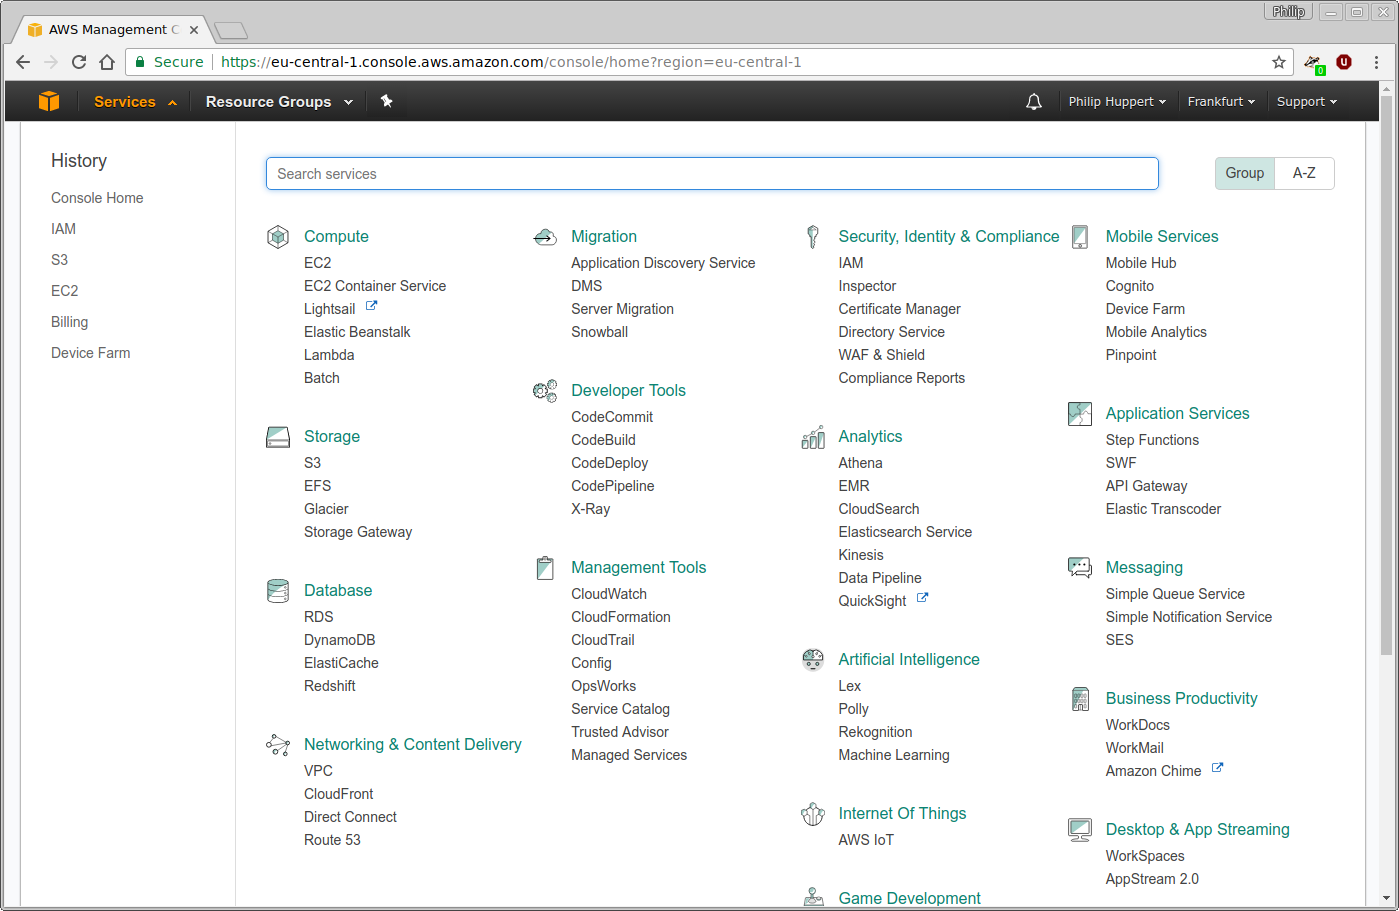
For this tutorial, the Simple Storage Service (S3), as well as Identity and Access Management (IAM) are relevant.
Creating the bucket
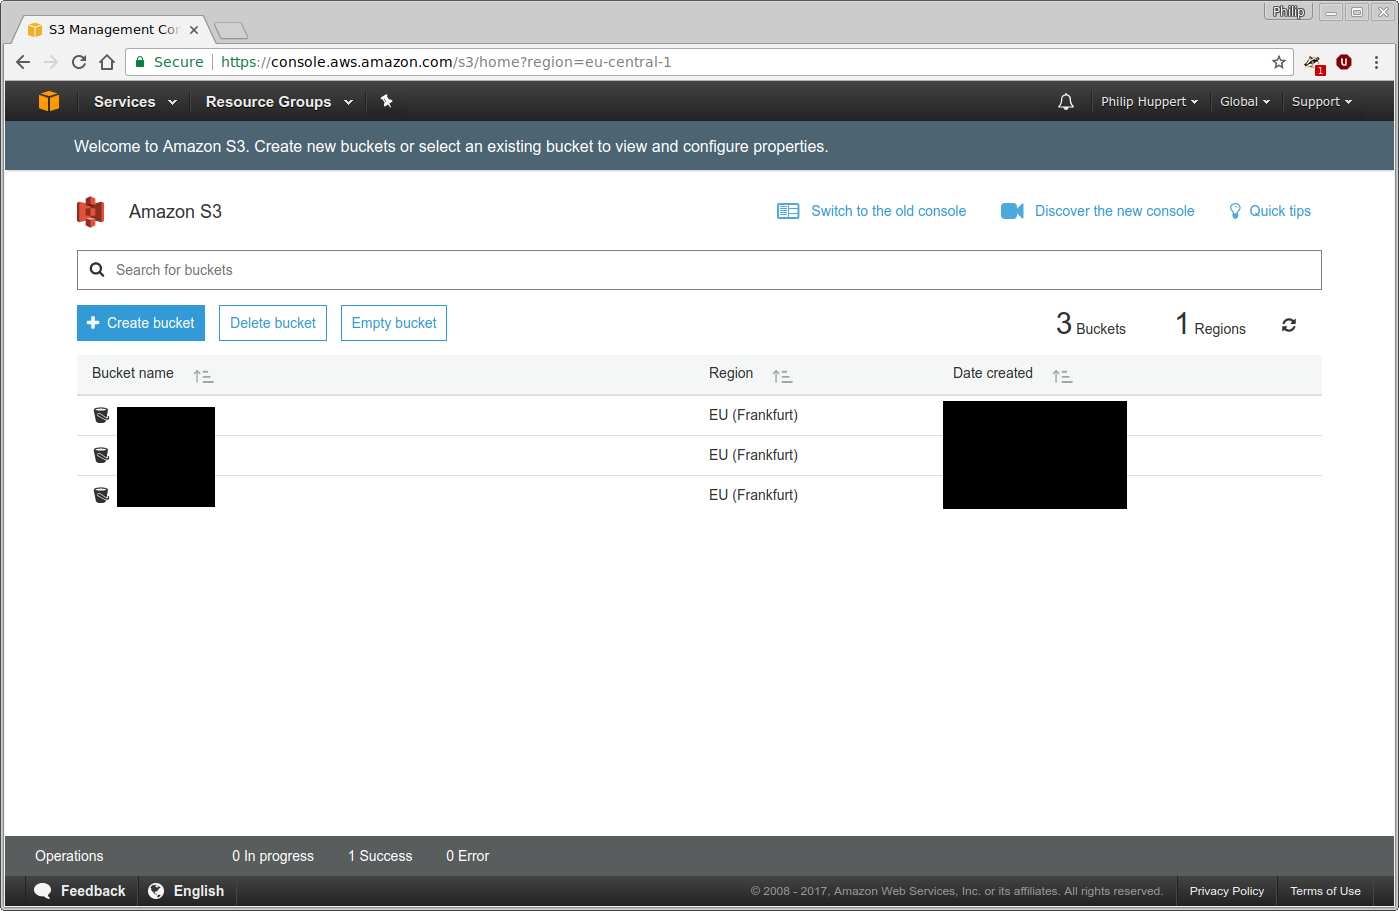
First, a bucket to store your backups in must be created. Using the “Services” menu, navigate to S3. In case you already have some S3 buckets, you will see a list of them here:
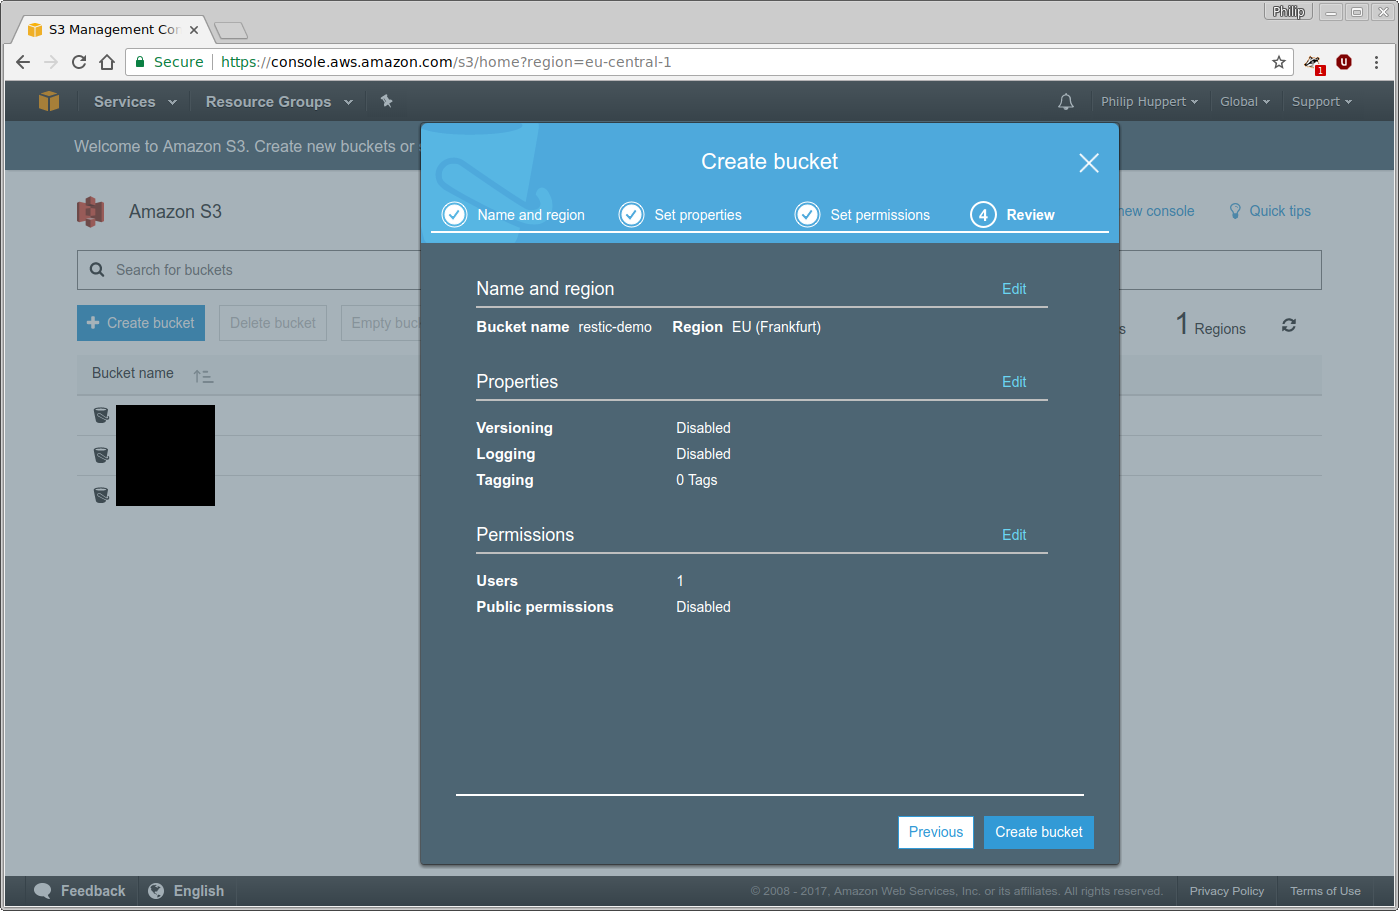
Click the “Create bucket” button and choose a name and region for your new
bucket. For the purpose of this tutorial, the bucket will be named
restic-demo and reside in Frankfurt. Because the bucket name space is
shared among all AWS users, the name restic-demo may not be available to
you. Be creative and choose a unique bucket name.
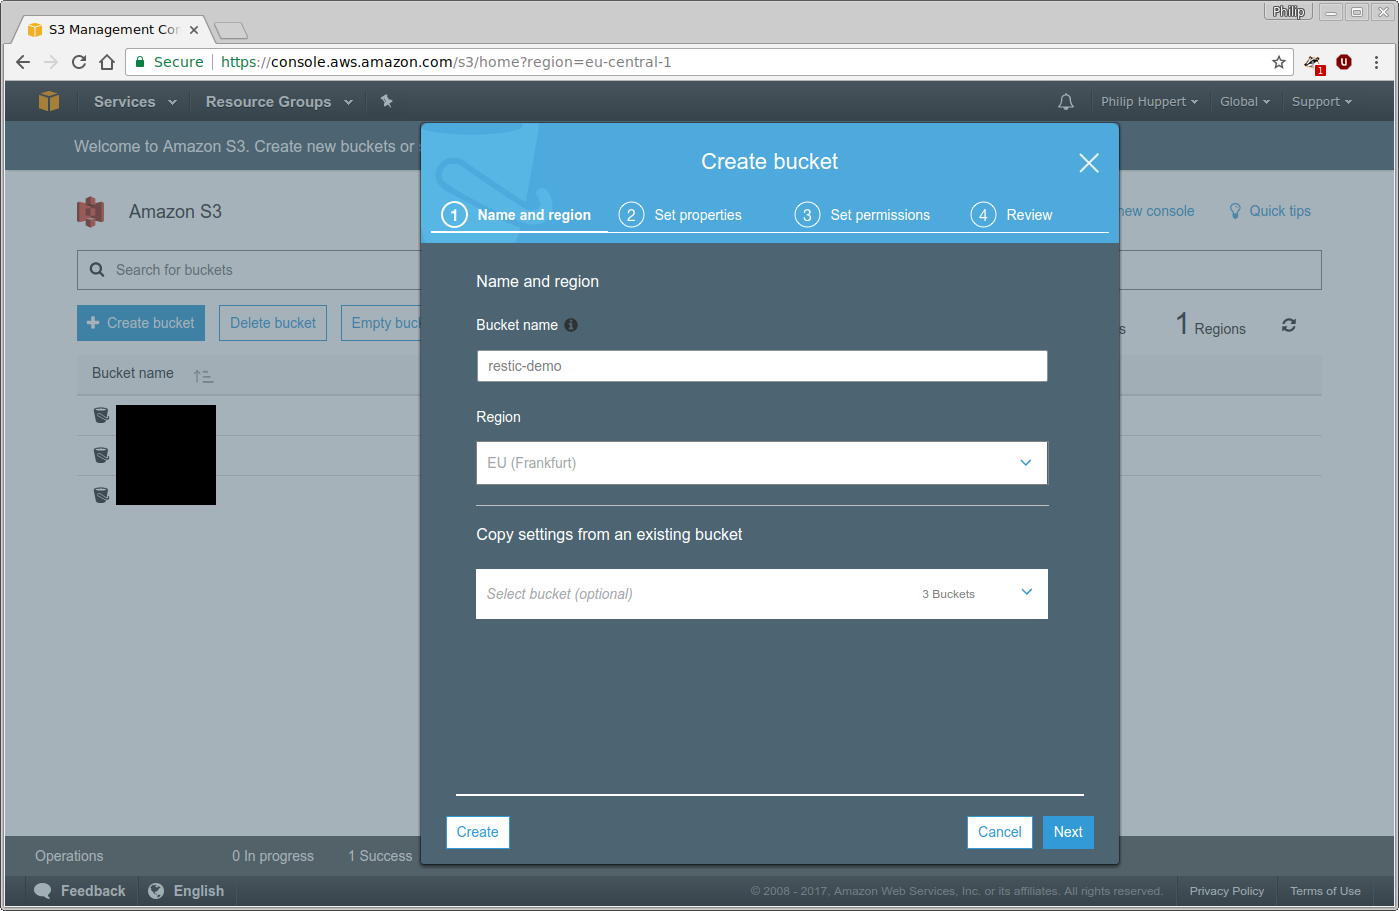
It is not necessary to configure any special properties or permissions of the bucket just yet. Therefore, just finish the wizard without making any further changes:
The newly created restic-demo bucket will now appear on the list of S3
buckets:

Creating a user
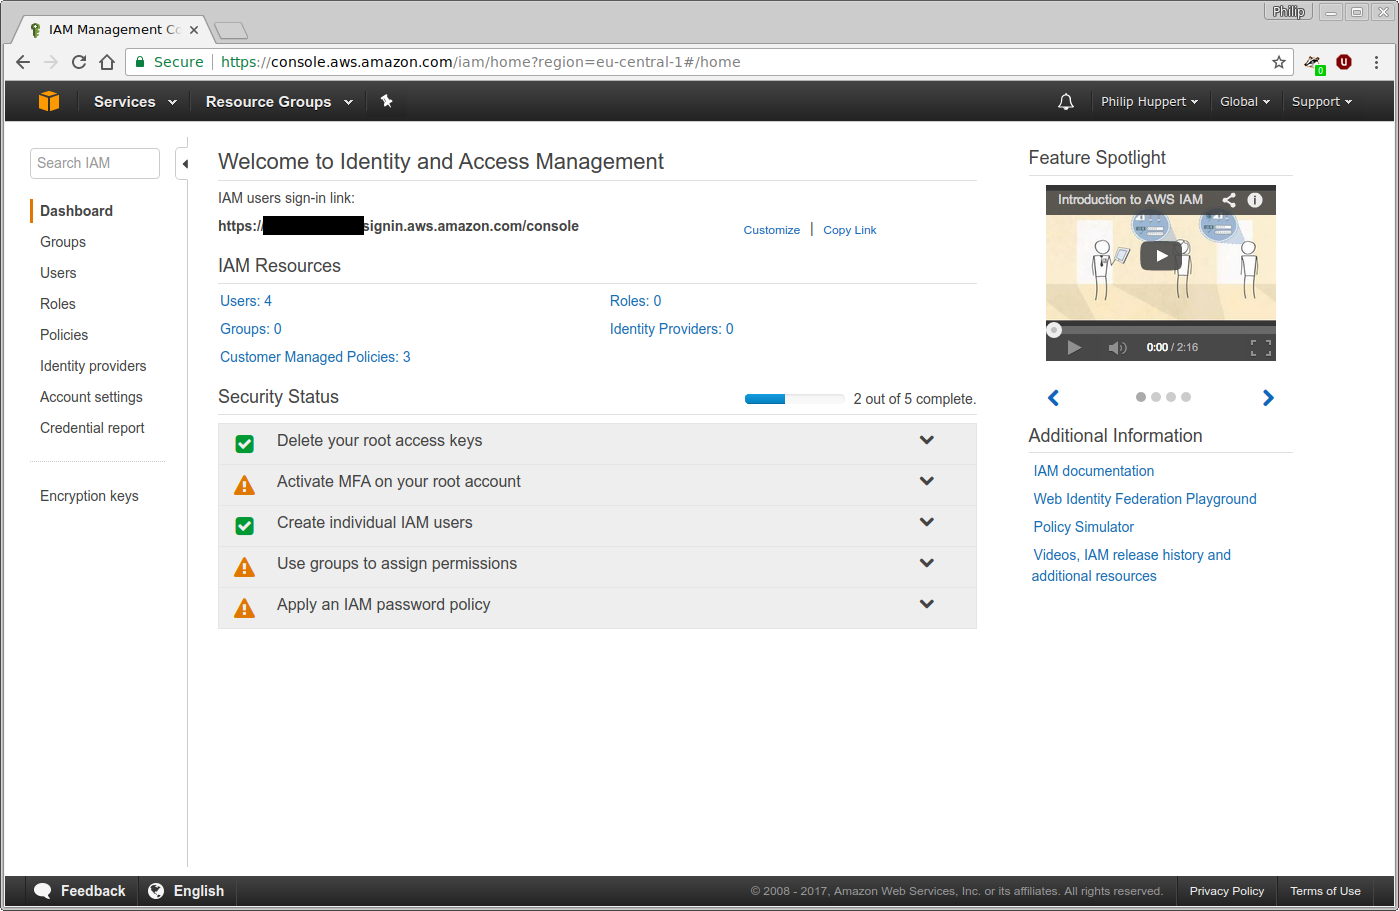
Use the “Services” menu of the AWS web interface to navigate to IAM. This will bring you to the IAM homepage. To create a new user, click on the “Users” menu entry on the left:
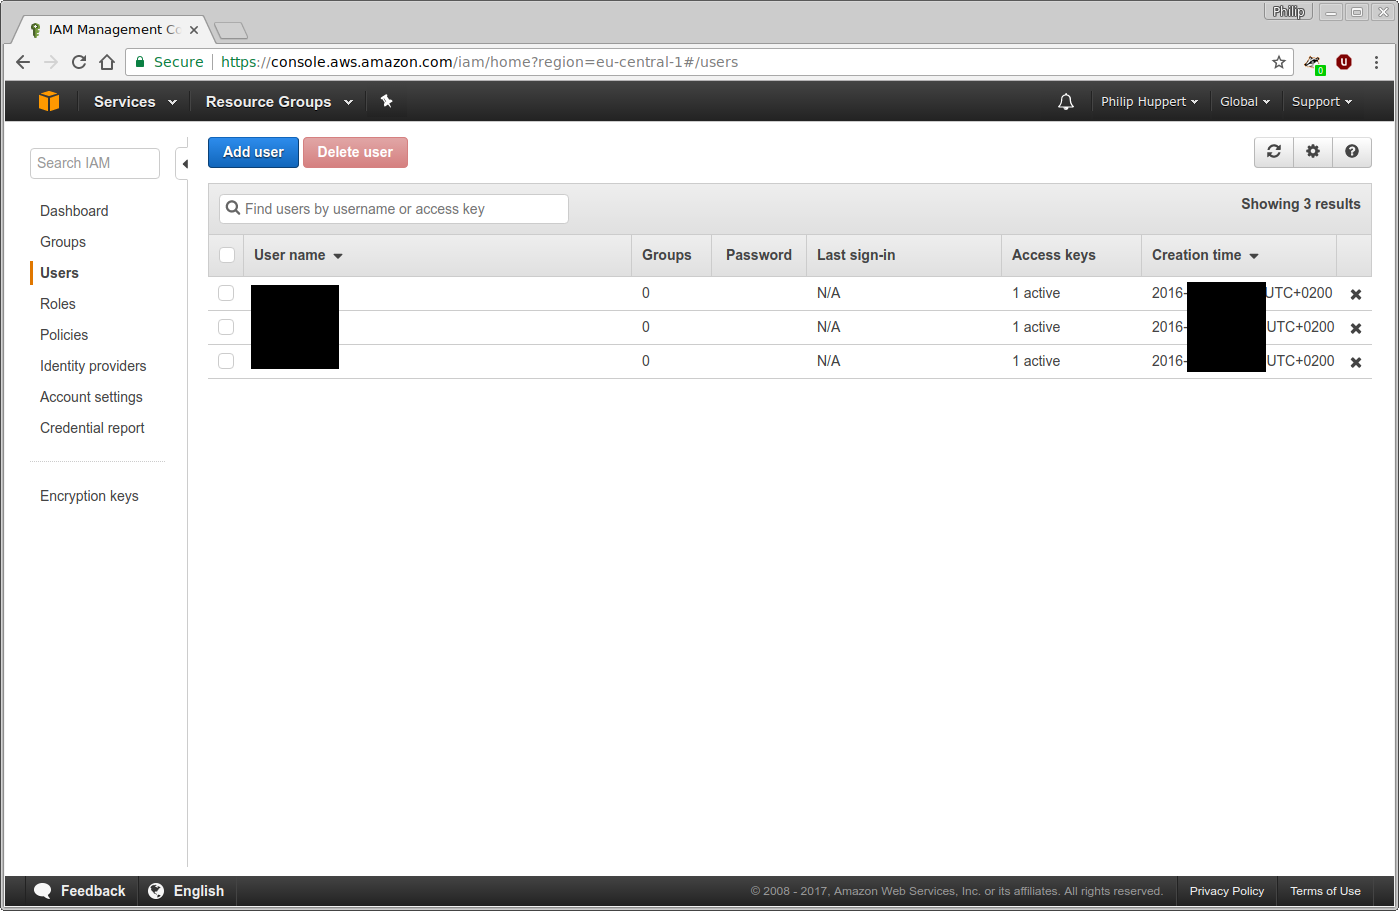
In case you already have set-up users with IAM before, you will see a list of them here. Use the “Add user” button at the top to create a new user:
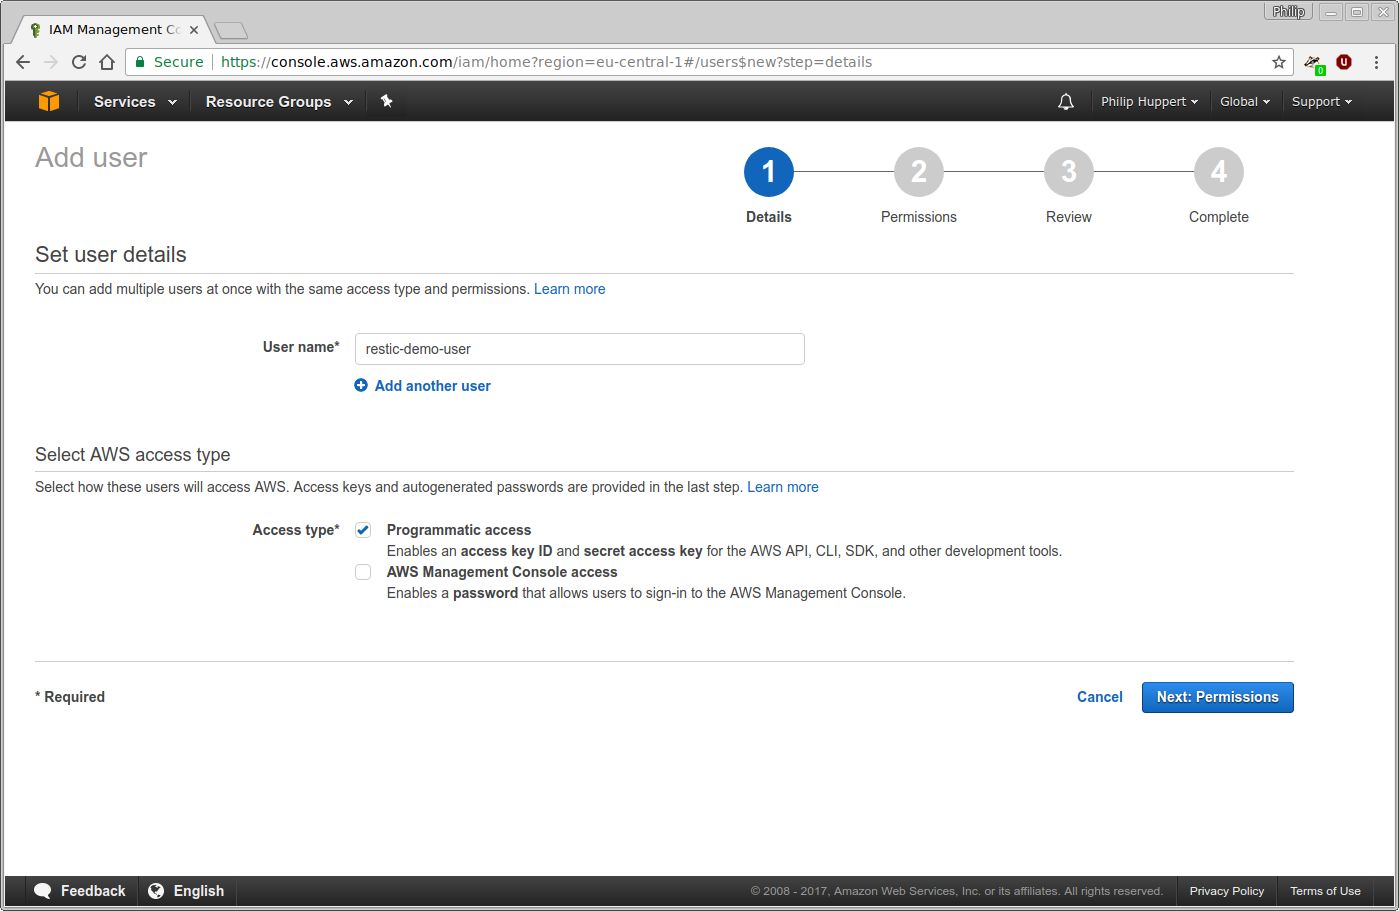
For this tutorial, the new user will be named restic-demo-user. Feel free to
choose your own name that best fits your needs. This user will only ever access
AWS through the restic program and not through the web interface. Therefore,
“Programmatic access” is selected for “Access type”:
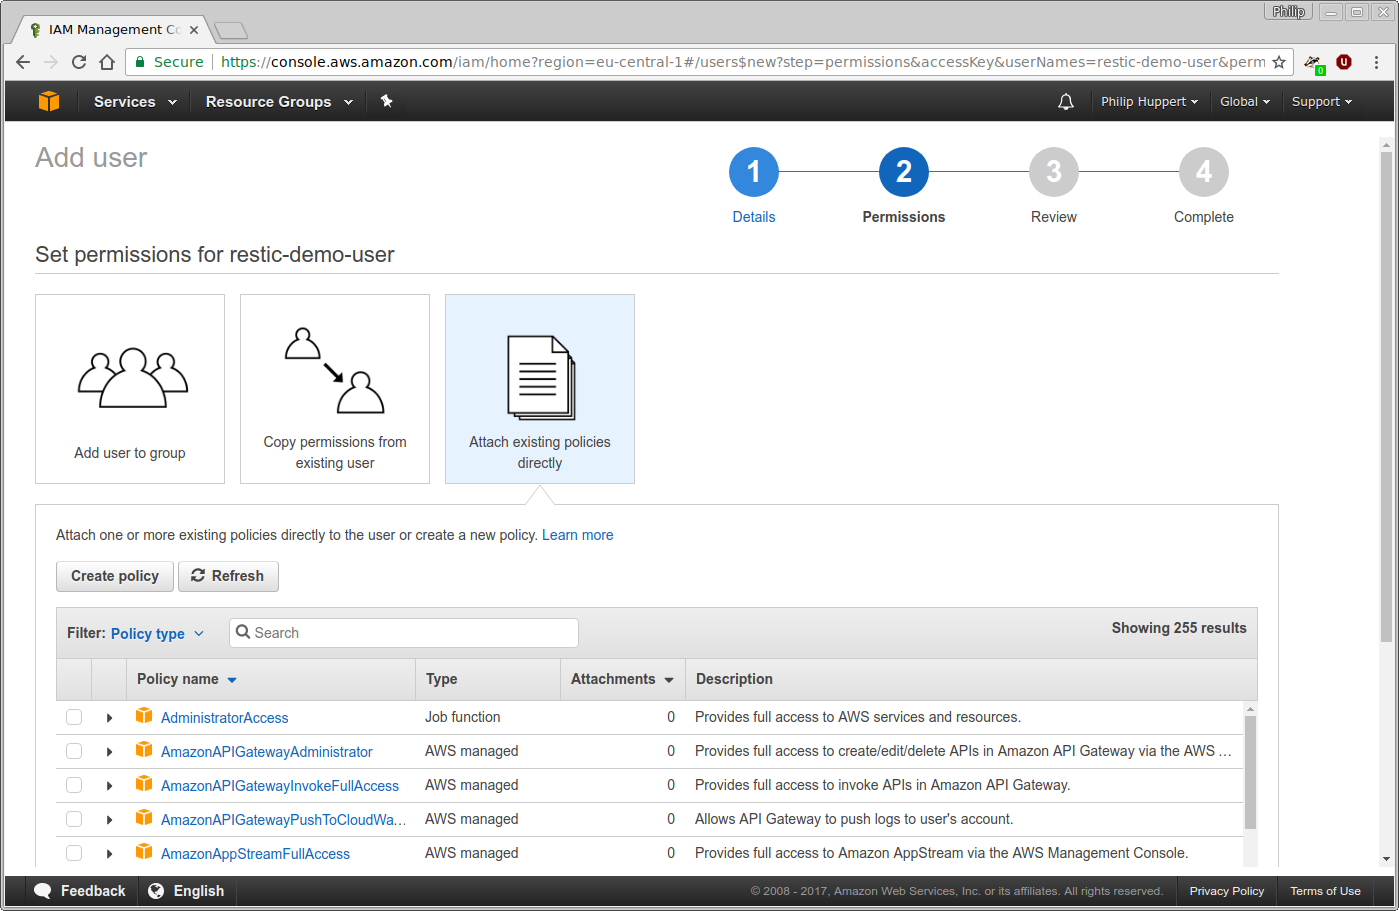
During the next step, permissions can be assigned to the new user. To use this
user with restic, it only needs access to the restic-demo bucket. Select
“Attach existing policies directly”, which will bring up a list of pre-defined
policies below. Afterwards, click the “Create policy” button to create a custom
policy:
A new browser window or tab will open with the policy wizard. In Amazon IAM, policies are defined as JSON documents. For this tutorial, the “Visual editor” will be used to generate a policy:
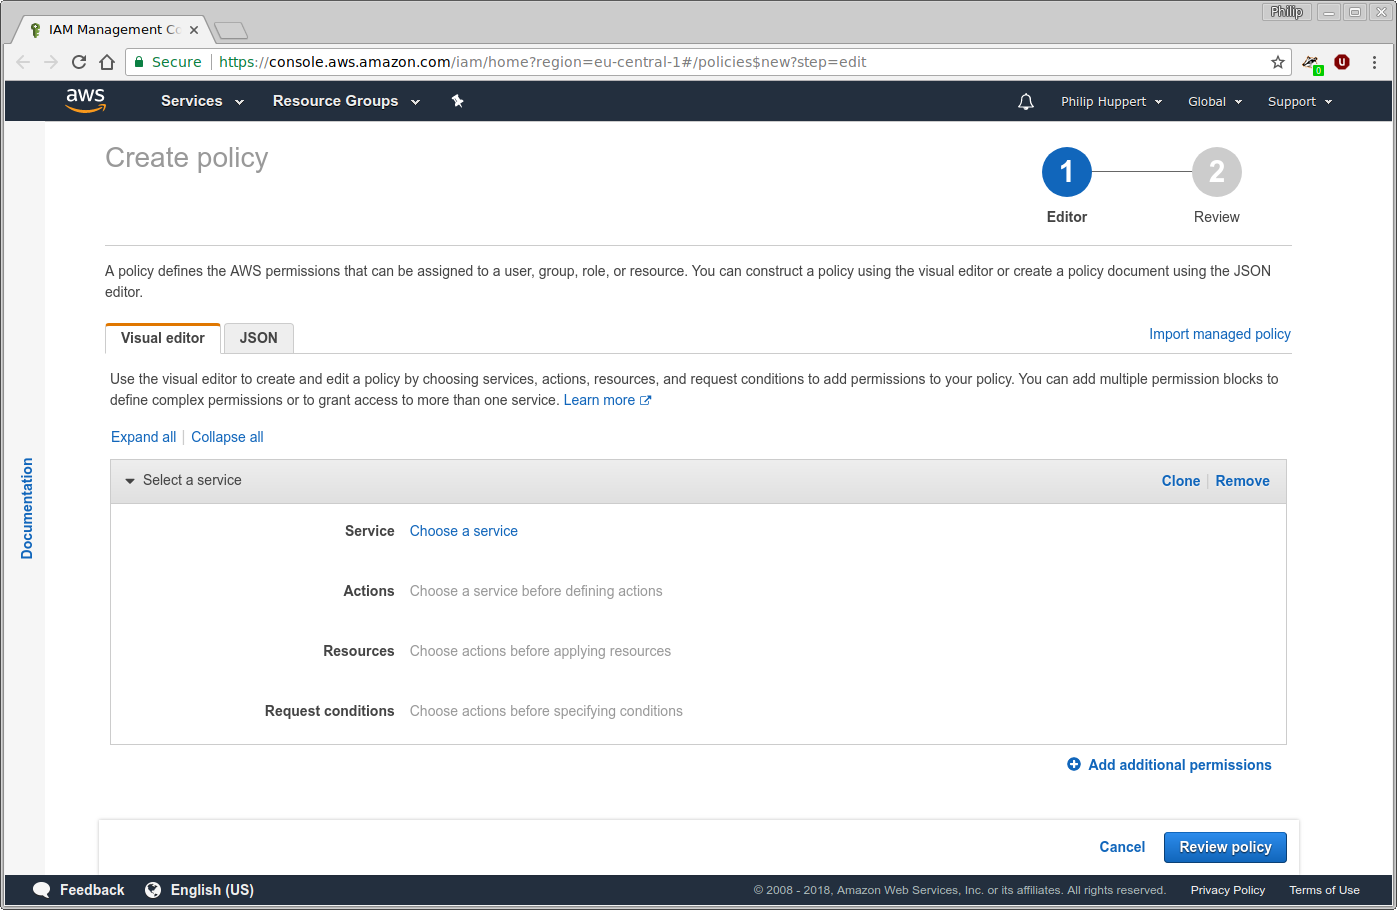
For restic to work, two permission statements must be created using the visual policy editor. The first statement is set up as follows:
Service: S3
Allow Actions: DeleteObject, GetObject, PutObject
Resources: arn:aws:s3:::restic-demo/*
This statement allows restic to create, read and delete objects inside the S3
bucket named restic-demo. Adjust the bucket’s name to the name of the
bucket you created earlier. Next, add a second statement using the “Add
additional permissions” button:
Service: S3
Allow Actions: ListBucket, GetBucketLocation
Resource: arn:aws:s3:::restic-demo
Again, substitute restic-demo with the actual name of your bucket. Note
that, unlike before, there is no /* after the bucket name. This statement
allows restic to list the objects stored in the restic-demo bucket and to
query the bucket’s region.
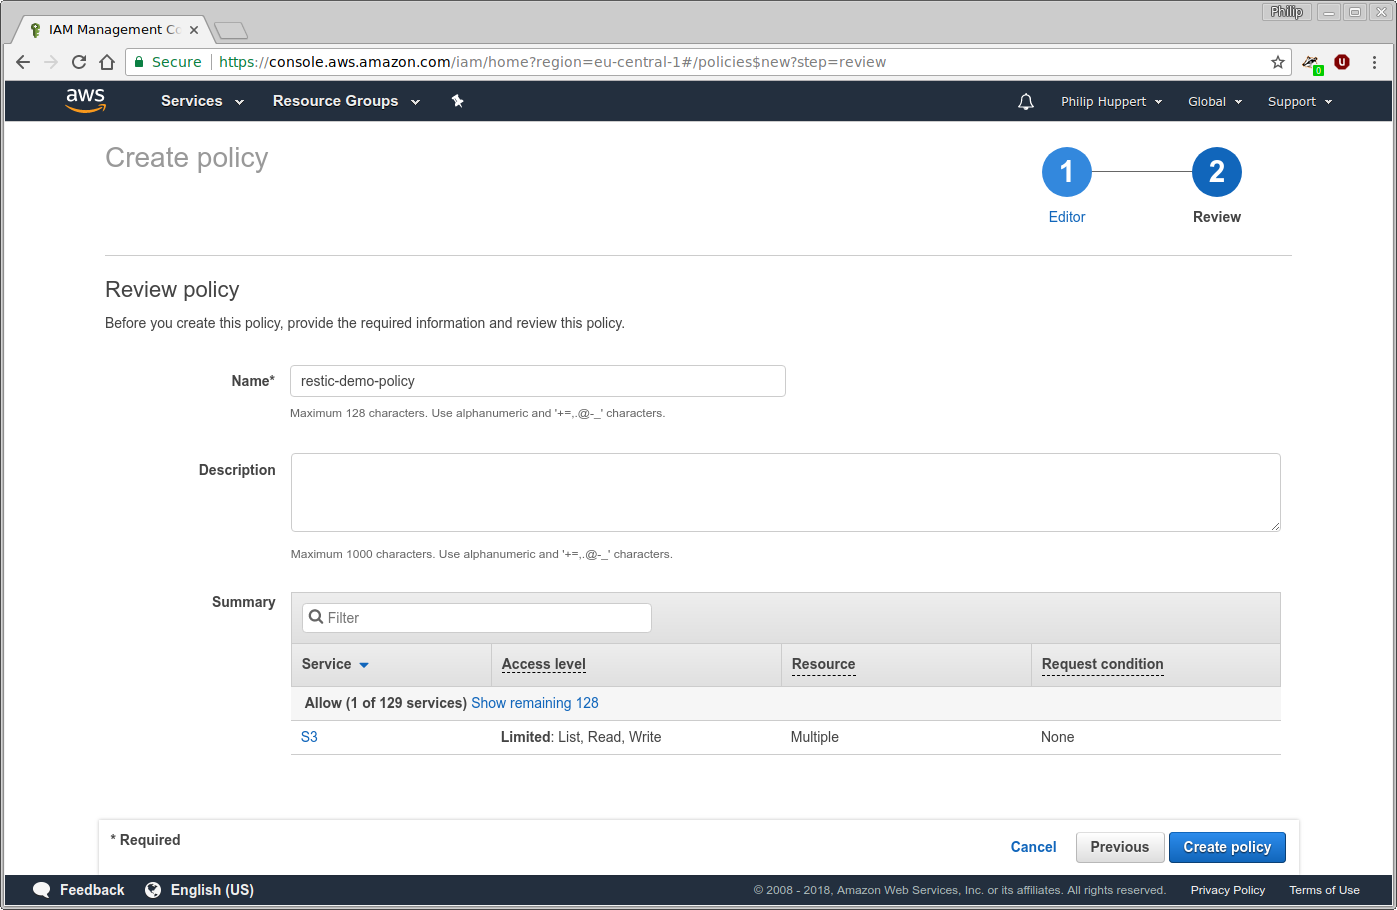
Continue to the next step by clicking the “Review policy” button and enter a
name and description for this policy. For this tutorial, the policy will be
named restic-demo-policy. Click “Create policy” to finish the process:
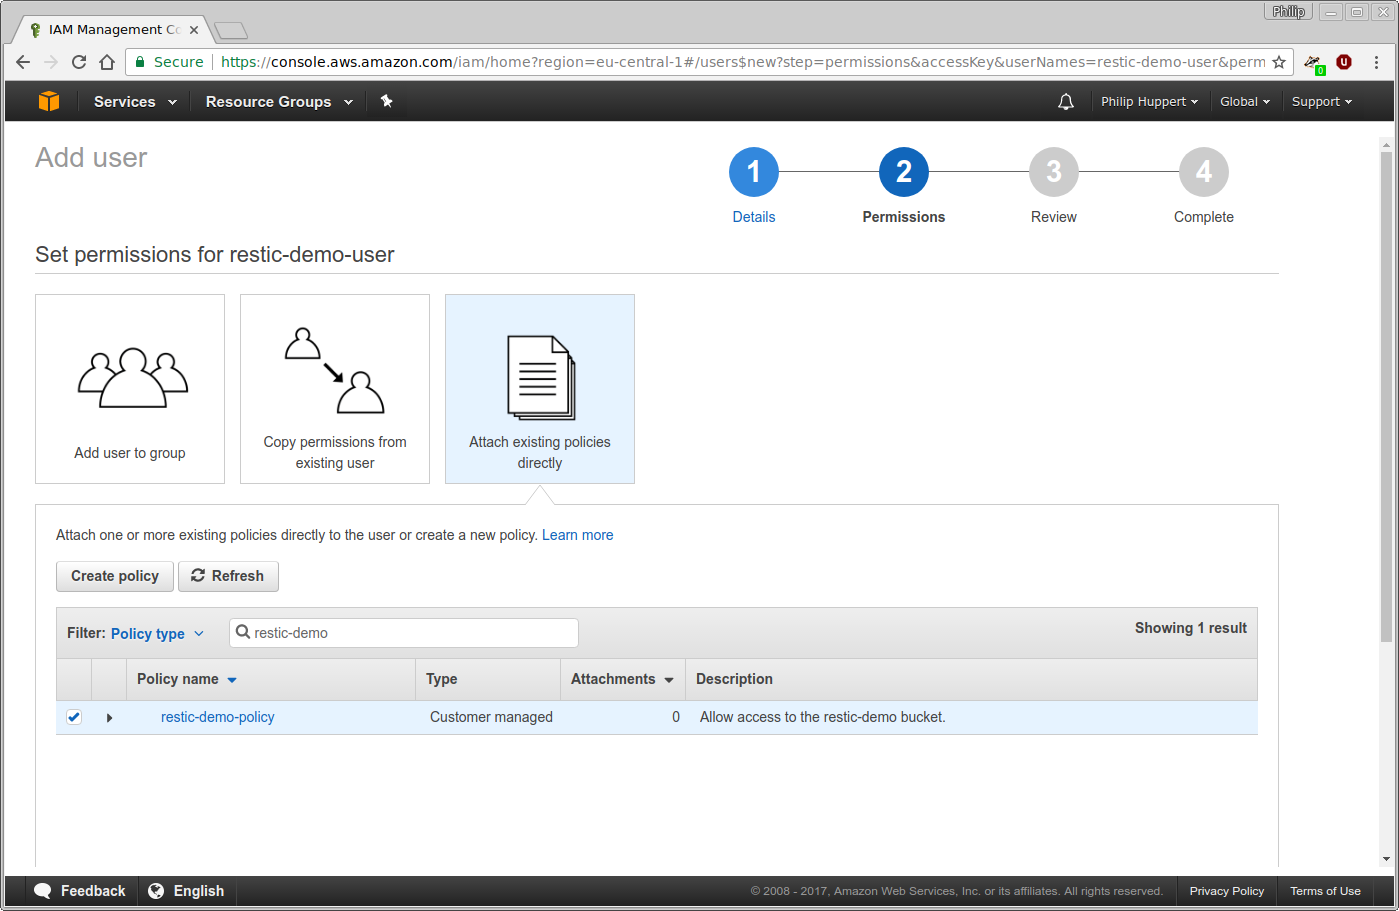
Go back to the browser window or tab where you were previously creating the new
user. Click the button labeled “Refresh” above the list of policies to make
sure the newly created policy is available to you. Afterwards, use the search
function to search for the restic-demo-policy. Select this policy using the
checkbox on the left. Then, continue to the next step.
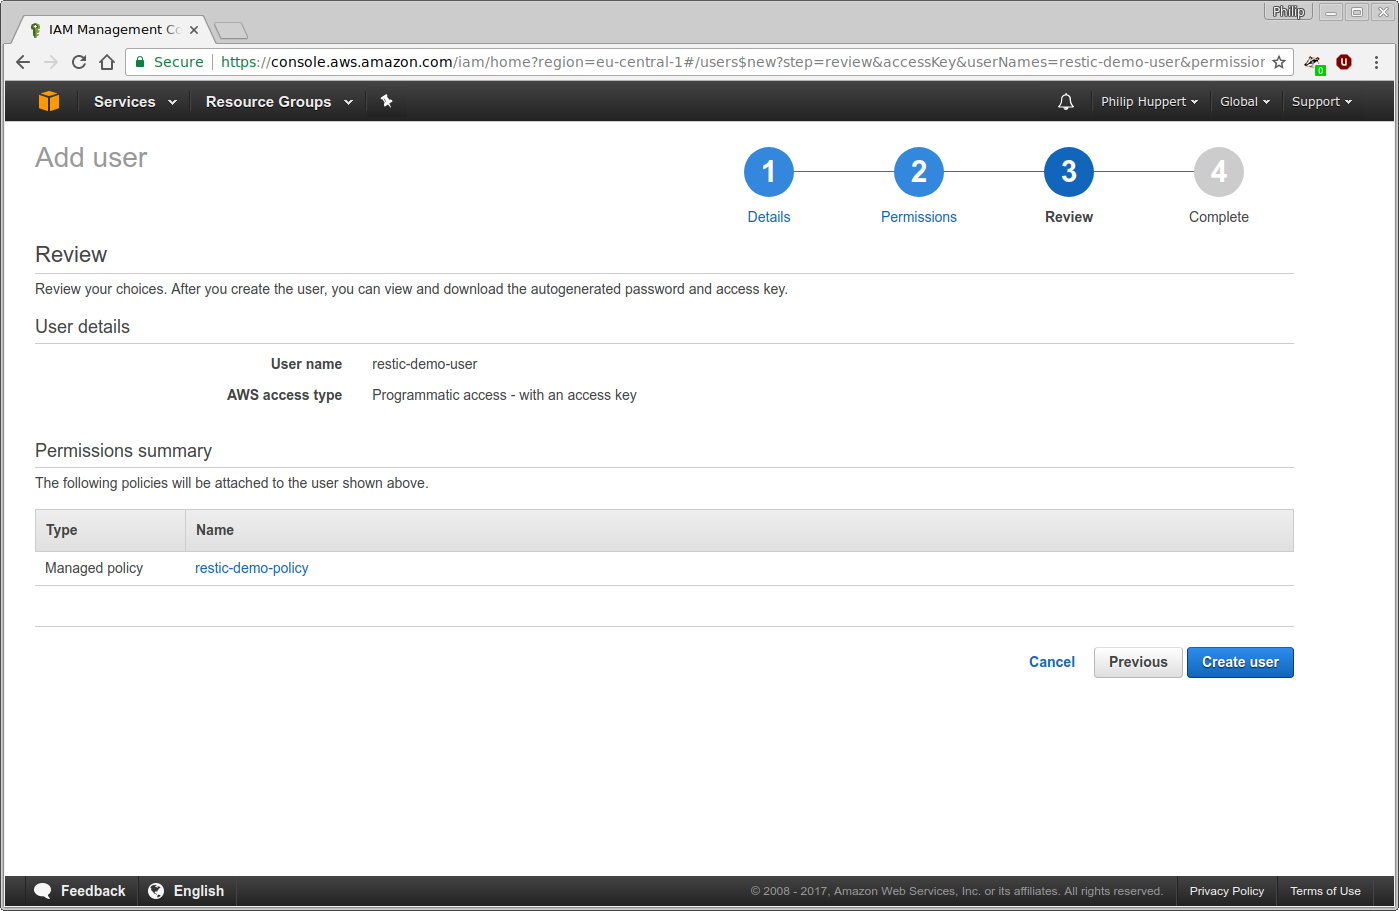
The next page will present an overview of the user account that is about to be created. If everything looks good, click “Create user” to complete the process:
After the user has been created, its access credentials will be displayed. They consist of the “Access key ID” (think user name), and the “Secret access key” (think password). Copy these down to a safe place.

You have now completed the configuration in AWS. Feel free to close your web browser now.
Initializing the restic repository
Open a terminal and make sure you have the restic binary ready. First, choose
a password to encrypt your backups with. In this tutorial, apg is used for
this purpose:
$ apg -a 1 -m 32 -n 1 -M NCL
I9n7G7G0ZpDWA3GOcJbIuwQCGvGUBkU5
Note this password somewhere safe along with your AWS credentials. Next, the configuration of restic will be placed into environment variables. This will include sensitive information, such as your AWS secret and repository password. Therefore, make sure the next commands do not end up in your shell’s history file. Adjust the contents of the environment variables to fit your bucket’s name and your user’s API credentials.
$ unset HISTFILE
$ export RESTIC_REPOSITORY="s3:https://s3.amazonaws.com/restic-demo"
$ export AWS_ACCESS_KEY_ID="AKIAJAJSLTZCAZ4SRI5Q"
$ export AWS_SECRET_ACCESS_KEY="LaJtZPoVvGbXsaD2LsxvJZF/7LRi4FhT0TK4gDQq"
$ export RESTIC_PASSWORD="I9n7G7G0ZpDWA3GOcJbIuwQCGvGUBkU5"
After the environment is set up, restic may be called to initialize the repository:
$ ./restic init
created restic backend b5c661a86a at s3:https://s3.amazonaws.com/restic-demo

Please note that knowledge of your password is required to access
the repository. Losing your password means that your data is
irrecoverably lost.
restic is now ready to be used with AWS S3. Try to create a backup:
$ dd if=/dev/urandom bs=1M count=10 of=test.bin
10+0 records in
10+0 records out
10485760 bytes (10 MB, 10 MiB) copied, 0,0891322 s, 118 MB/s

$ ./restic backup test.bin
scan [/home/philip/restic-demo/test.bin]
scanned 0 directories, 1 files in 0:00
[0:04] 100.00%  2.500 MiB/s  10.000 MiB / 10.000 MiB  1 / 1 items ... ETA 0:00
duration: 0:04, 2.47MiB/s
snapshot 10fdbace saved

$ ./restic snapshots
ID        Date                 Host        Tags        Directory
----------------------------------------------------------------------
10fdbace  2017-03-26 16:41:50  blackbox                /home/philip/restic-demo/test.bin
A snapshot was created and stored in the S3 bucket. This snapshot may now be restored:
$ mkdir restore

$ ./restic restore 10fdbace --target restore
restoring <Snapshot 10fdbace of [/home/philip/restic-demo/test.bin] at 2017-03-26 16:41:50.201418102 +0200 CEST by philip@blackbox> to restore

$ ls restore/
test.bin
The snapshot was successfully restored. This concludes the tutorial.
Backing up your system without running restic as root
Motivation
Creating a complete backup of a machine requires a privileged process
that is able to read all files. On UNIX-like systems this is
traditionally the root user. Processes running as root have
superpower. They cannot only read all files but do also have the power
to modify the system in any possible way.
With great power comes great responsibility. If a process running as root malfunctions, is exploited, or simply configured in a wrong way it can cause any possible damage to the system. This means you only want to run programs as root that you trust completely. And even if you trust a program, it is good and common practice to run it with the least possible privileges.
Capabilities on Linux
Fortunately, Linux has functionality to divide root’s power into single separate capabilities. You can remove these from a process running as root to restrict it. And you can add capabilities to a process running as a normal user, which is what we are going to do.
Full backup without root
To be able to completely backup a system, restic has to read all the files. Luckily Linux knows a capability that allows precisely this. We can assign this single capability to restic and then run it as an unprivileged user.
First we create a new user called restic that is going to create
the backups:
root@a3e580b6369d:/# useradd -m restic
Then we download and install the restic binary into the user’s home directory.
root@a3e580b6369d:/# mkdir ~restic/bin
root@a3e580b6369d:/# curl -L https://github.com/restic/restic/releases/download/v0.9.1/restic_0.9.1_linux_amd64.bz2 | bunzip2 > ~restic/bin/restic
Before we assign any special capability to the restic binary we restrict its permissions so that only root and the newly created restic user can execute it. Otherwise another - possibly untrusted - user could misuse the privileged restic binary to circumvent file access controls.
root@a3e580b6369d:/# chown root:restic ~restic/bin/restic
root@a3e580b6369d:/# chmod 750 ~restic/bin/restic
Finally we can use setcap to add an extended attribute to the
restic binary. On every execution the system will read the extended
attribute, interpret it and assign capabilities accordingly.
root@a3e580b6369d:/# setcap cap_dac_read_search=+ep ~restic/bin/restic
From now on the user restic can run restic to backup the whole
system.
root@a3e580b6369d:/# sudo -u restic /home/restic/bin/restic --exclude={/dev,/media,/mnt,/proc,/run,/sys,/tmp,/var/tmp} -r /tmp backup /